When a business sends a subscription invitation, customers receive an email with a link to review and accept the offer. This guide explains how customers accept invitations, complete authentication, and finalize their subscription.
This article is for customers who received an invitation to subscribe from a business.
What Is a Subscription Invitation?
A subscription invitation is a personalized email from a business inviting a specific customer to subscribe to their recurring service. The business has selected certain customers to receive this offer, typically because they expressed interest, used the service before, or were referred by someone.
How Invitations Differ from Self-Signup
Invitation (this article):
Business sends personalized invitation to customer
Service, pricing, and frequency pre-selected by business
Customer reviews the specific offer sent to them
Customer accepts or declines the invitation
Self-signup:
Customer discovers business on their own
Customer browses and chooses services themselves
Customer selects options and builds cart
Customer initiates the purchase
✍️ TIP: Invitations are personalized offers. The business chose to invite the customer specifically based on their service needs.
Receiving the Invitation Email
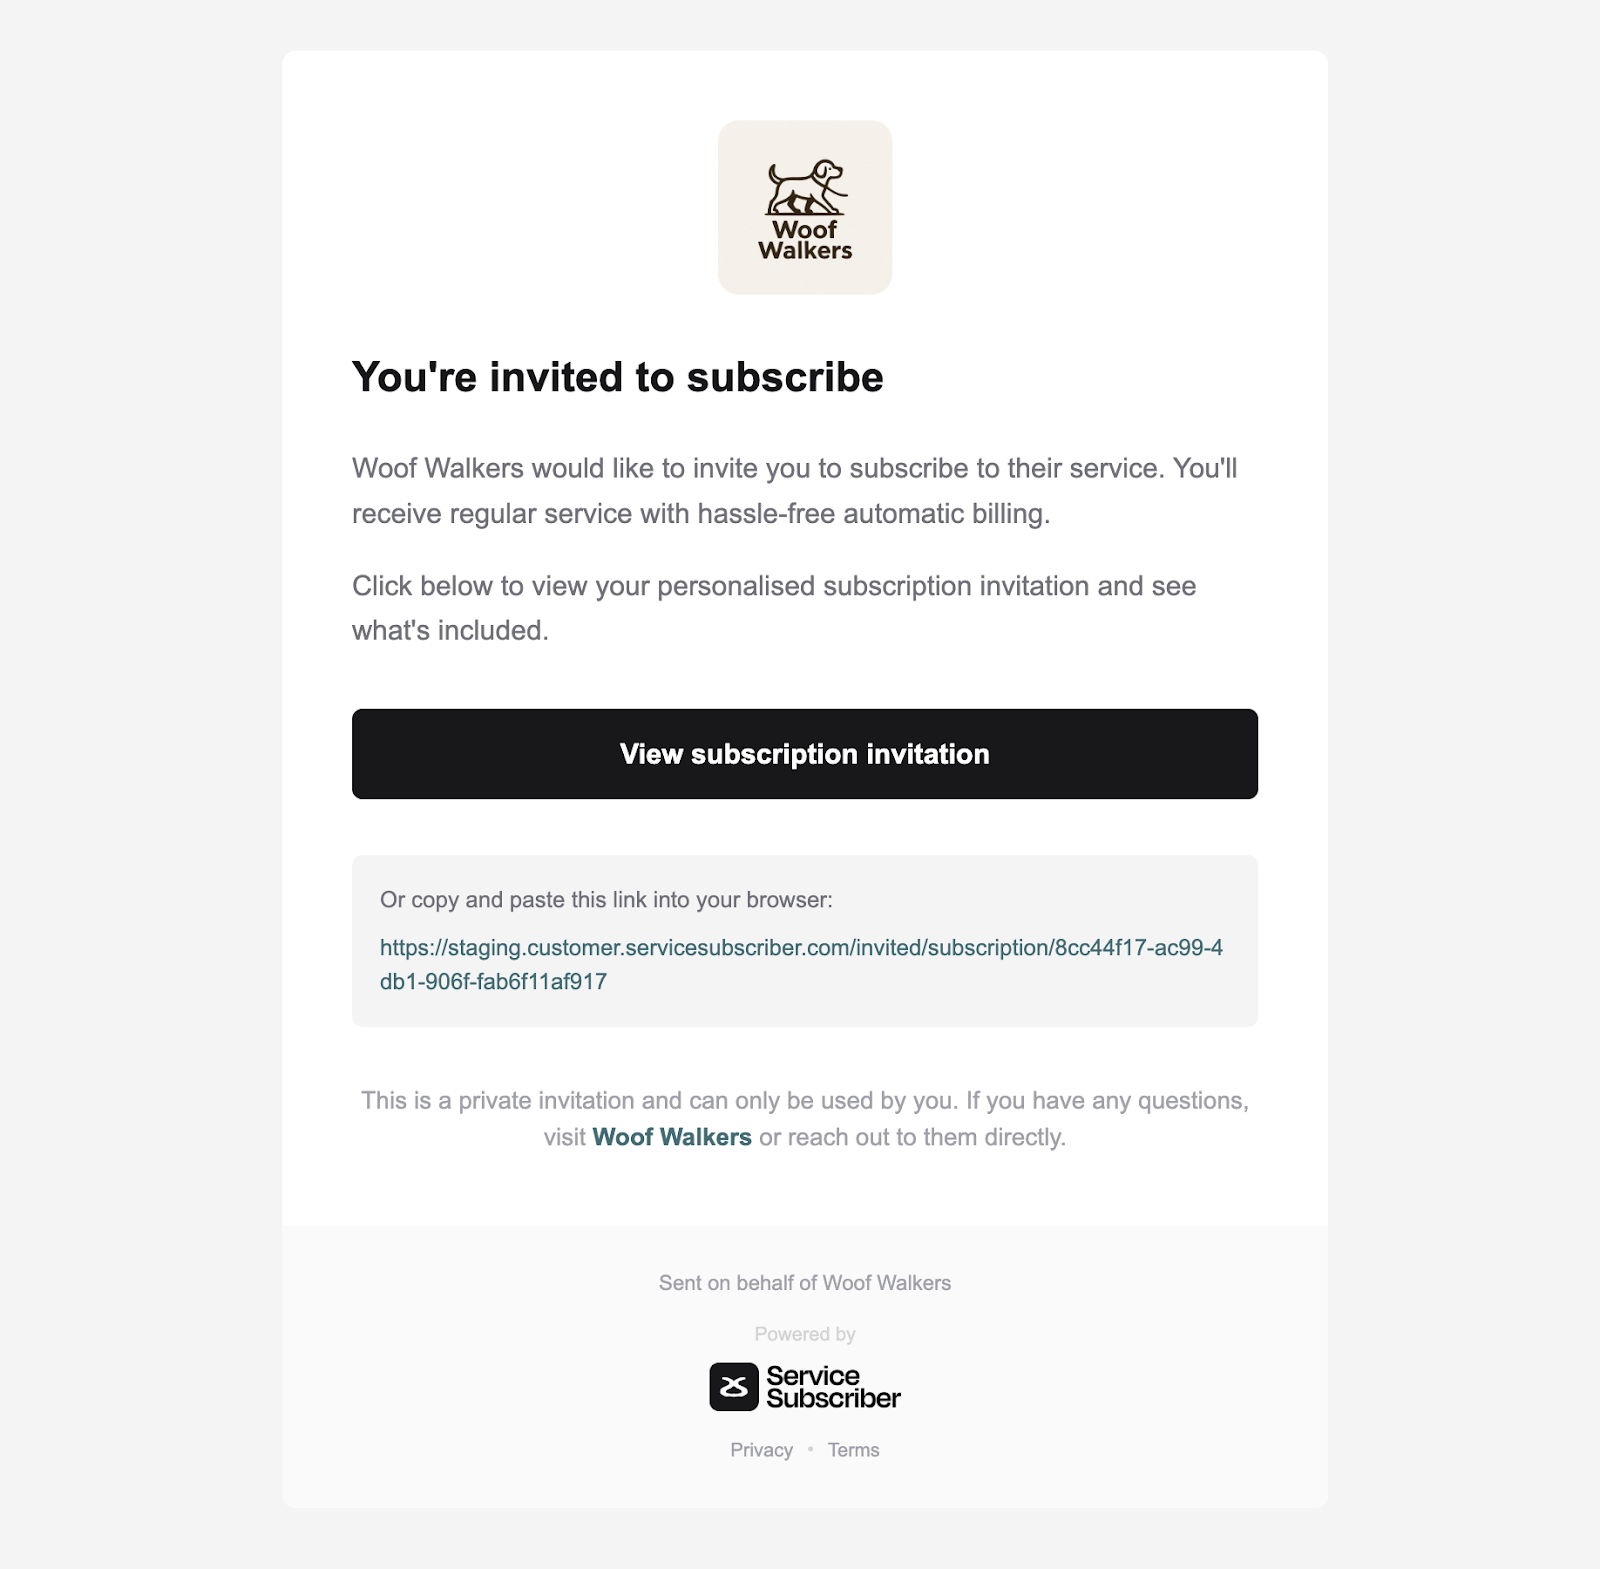
When a business invites a customer to subscribe, the customer receives an email at the address the business provided.
⚠️ IMPORTANT: Customers should check spam or junk folders if the invitation email doesn't arrive within a few minutes. Automated emails sometimes land there.
Clicking the Invitation Link
When customers are ready to review the offer, they click the "View subscription invitation" button in the email.
Initial Redirect
What happens:
Customer clicks invitation link in email
Browser redirects to invitation page URL
Login/signup modal appears immediately
Invitation details remain hidden behind modal
⚠️ IMPORTANT: The invitation page exists but is not visible until authentication is complete. The modal blocks all access to protect the personalized offer.
Email Verification Requirement
Before customers can view any invitation details, they must verify they are the intended recipient.
Email verification requirement:
Customer MUST enter the SAME email address where invitation was sent
System verifies email matches invitation recipient
Only matching email can proceed
Wrong email results in error
⚠️ IMPORTANT: Invitations are personalized and can only be accessed using the email address that received the invitation. Using a different email address will not work.
Correct Email: OTP Verification Process
If customer enters matching email:
Enter correct email address
Type the email where invitation was received
Click "Send Verification Code"
System validates email
Checks email matches invitation recipient
Validation passes
OTP code sent
Check email for OTP code
Separate email arrives with verification code
Subject line references verification
Contains 6-digit code
Arrives within 1-2 minutes
Enter OTP code
Input code from email into modal
Submit for verification
Account authenticated
New customers: Account created automatically
Existing customers: Logged in to account
Modal closes
Invitation page now visible
Full offer details displayed
Alternative: Google sign-in with matching email
Click "Continue with Google"
Select Google account that matches invitation email
Grant necessary permissions
System verifies Google email matches invitation
Account created or logged in automatically
Invitation page loads completely
✍️ TIP: If OTP doesn't arrive, customers should check spam/junk folders. Wait 2-3 minutes before requesting a new code.
Wrong Email: Error Page
If customer enters non-matching email:
Enter different email address
Email does not match invitation recipient
Customer clicks "Send Verification Code"
OTP sent to entered email
System sends OTP to the email entered (even though it's wrong)
Customer receives verification code
No error at this stage
Customer enters OTP code
Inputs OTP from email
Submits for verification
Authentication completes
Customer logged in or account created
If email has existing account: Logged into that account
If email is new: New account created with that email
Authentication successful
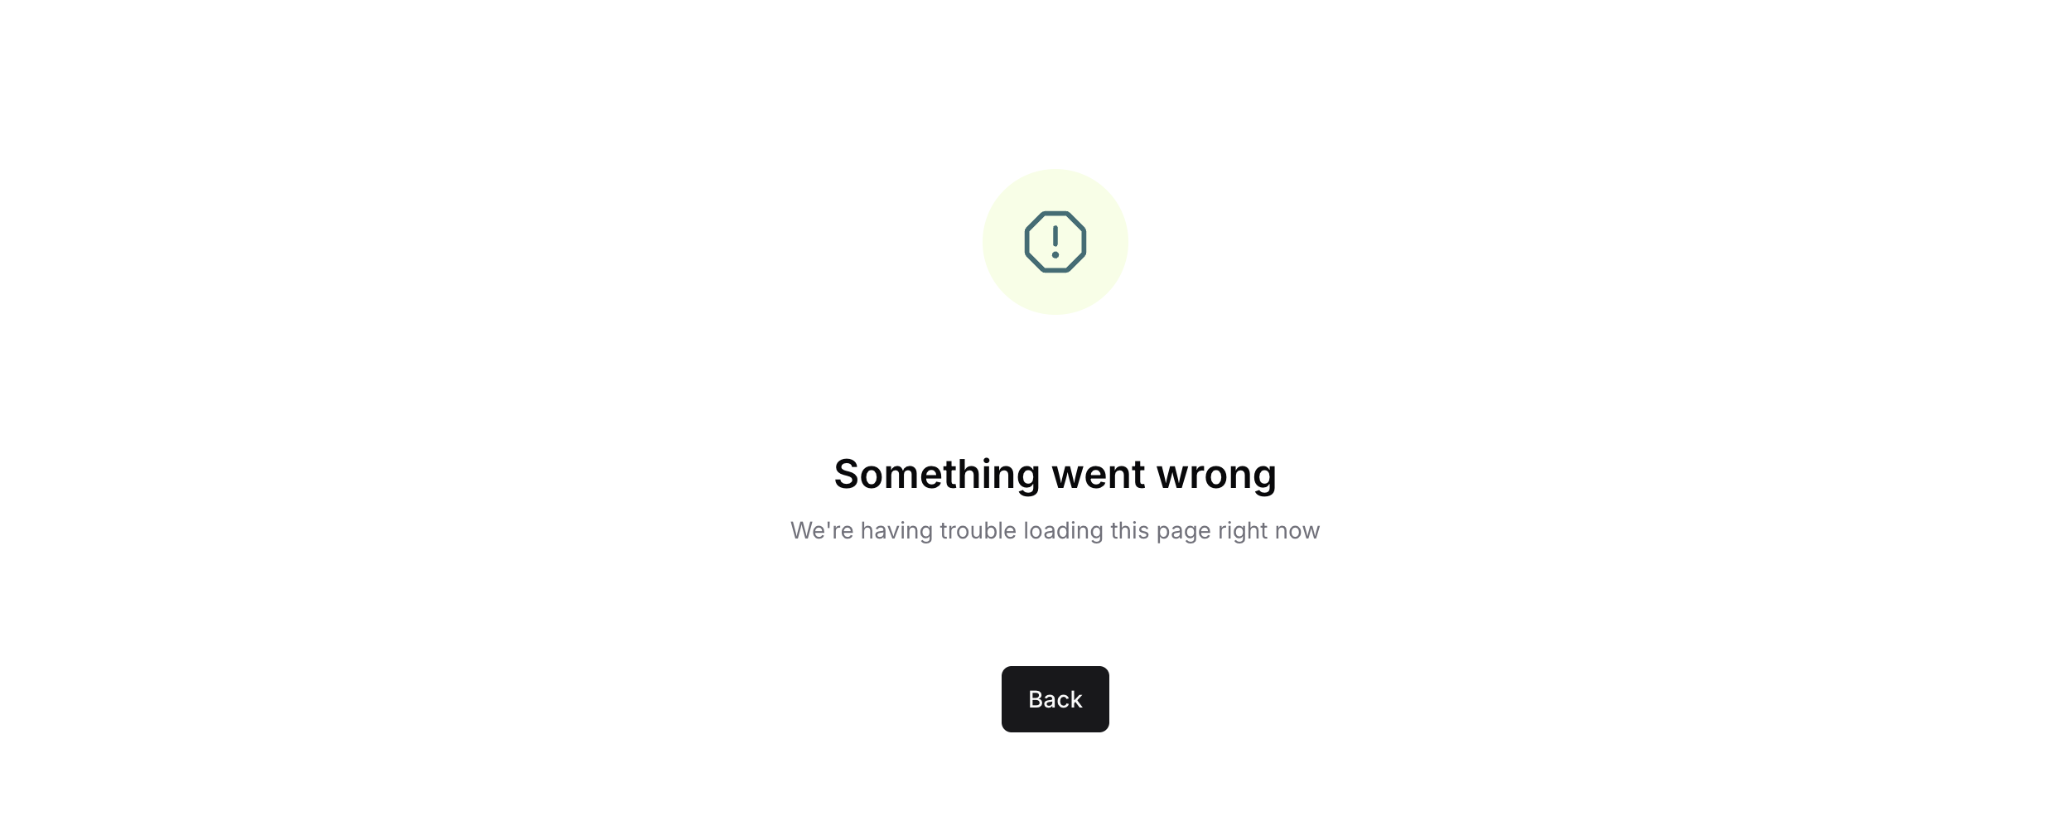
Redirected to error page
After login, system checks email against invitation
Email doesn't match invitation recipient
Error page displays
Cannot view invitation details
Error page indicates:
This invitation is for a specific email address
The entered email does not match the invitation recipient
Customer cannot access this invitation
Must use the email address where invitation was received
Contact business if unsure which email received invitation
If wrong email has existing account:
Customer is fully logged into their account
Can navigate around customer portal normally
Can view their own subscriptions and purchases
Can manage their account settings
Cannot access the invitation they clicked
Error page remains if they try to return to invitation
What customers should do:
Note the error message
Log out from current account
Return to invitation email in correct inbox
Verify which email address received invitation
Click invitation link again
Enter the correct email address at authentication
Complete OTP verification with correct email
Successfully access invitation
⚠️ IMPORTANT: The invitation is permanently tied to the specific email address it was sent to. Customers cannot access an invitation using a different email address, even if that email has an active Service Subscriber account.
✍️ TIP: Customers should carefully check which email address received the invitation before authenticating. Using the wrong email results in a working account login but no access to the invitation.
Reviewing the Invitation Offer
After successful authentication with the correct email, customers see the complete invitation with all subscription details.
What Customers Should Review
Before accepting, customers verify:
Service name and description match expectations
Pricing is correct (regular vs subscription price)
Billing frequency is acceptable (Weekly, Monthly, etc.)
Minimum term commitment is understood
Start date works with their schedule
First payment amount and date are clear
Total due matches their budget
✍️ TIP: Customers should contact the business before accepting if anything is unclear. The business contact information is in the original invitation email.
Declining an Invitation
If customers decide not to subscribe after reviewing the offer, they can decline.
How to Decline
To decline invitation:
Review invitation details
Click "Decline" button
Confirmation may appear asking to confirm decline
Click to confirm decision
Invitation marked as declined
What Happens After Declining
After customer declines:
No payment is processed
No subscription is created
No account charges
Business receives notification of decline
Business may receive optional feedback if customer provided reason
Customer's email remains in business system but not subscribed
Customer can still subscribe later by contacting business directly
No obligation: Declining an invitation has no negative consequences. Customers are under no obligation to accept just because they received an invitation.
✍️ TIP: If a customer is interested but not ready to commit, they can contact the business to discuss timing. The business can send a new invitation when the customer is ready.
Accepting the Invitation
If customers are satisfied with the offer and ready to subscribe, they proceed to accept.
Starting Acceptance Process
To accept invitation:
Review all details in cart panel
Verify pricing and billing frequency
Confirm start date works
Click "Confirm Details" button
System redirects to checkout page
⚠️ IMPORTANT: Clicking "Confirm Details" does NOT complete the purchase. It advances to the checkout page where customers must provide payment and address information.
Completing Checkout
After clicking "Confirm Details," customers are redirected to the checkout page to finalize their subscription.
Checkout Process
The checkout process for invitations is identical to the self-signup checkout process covered in The Customer Sign-up Process.
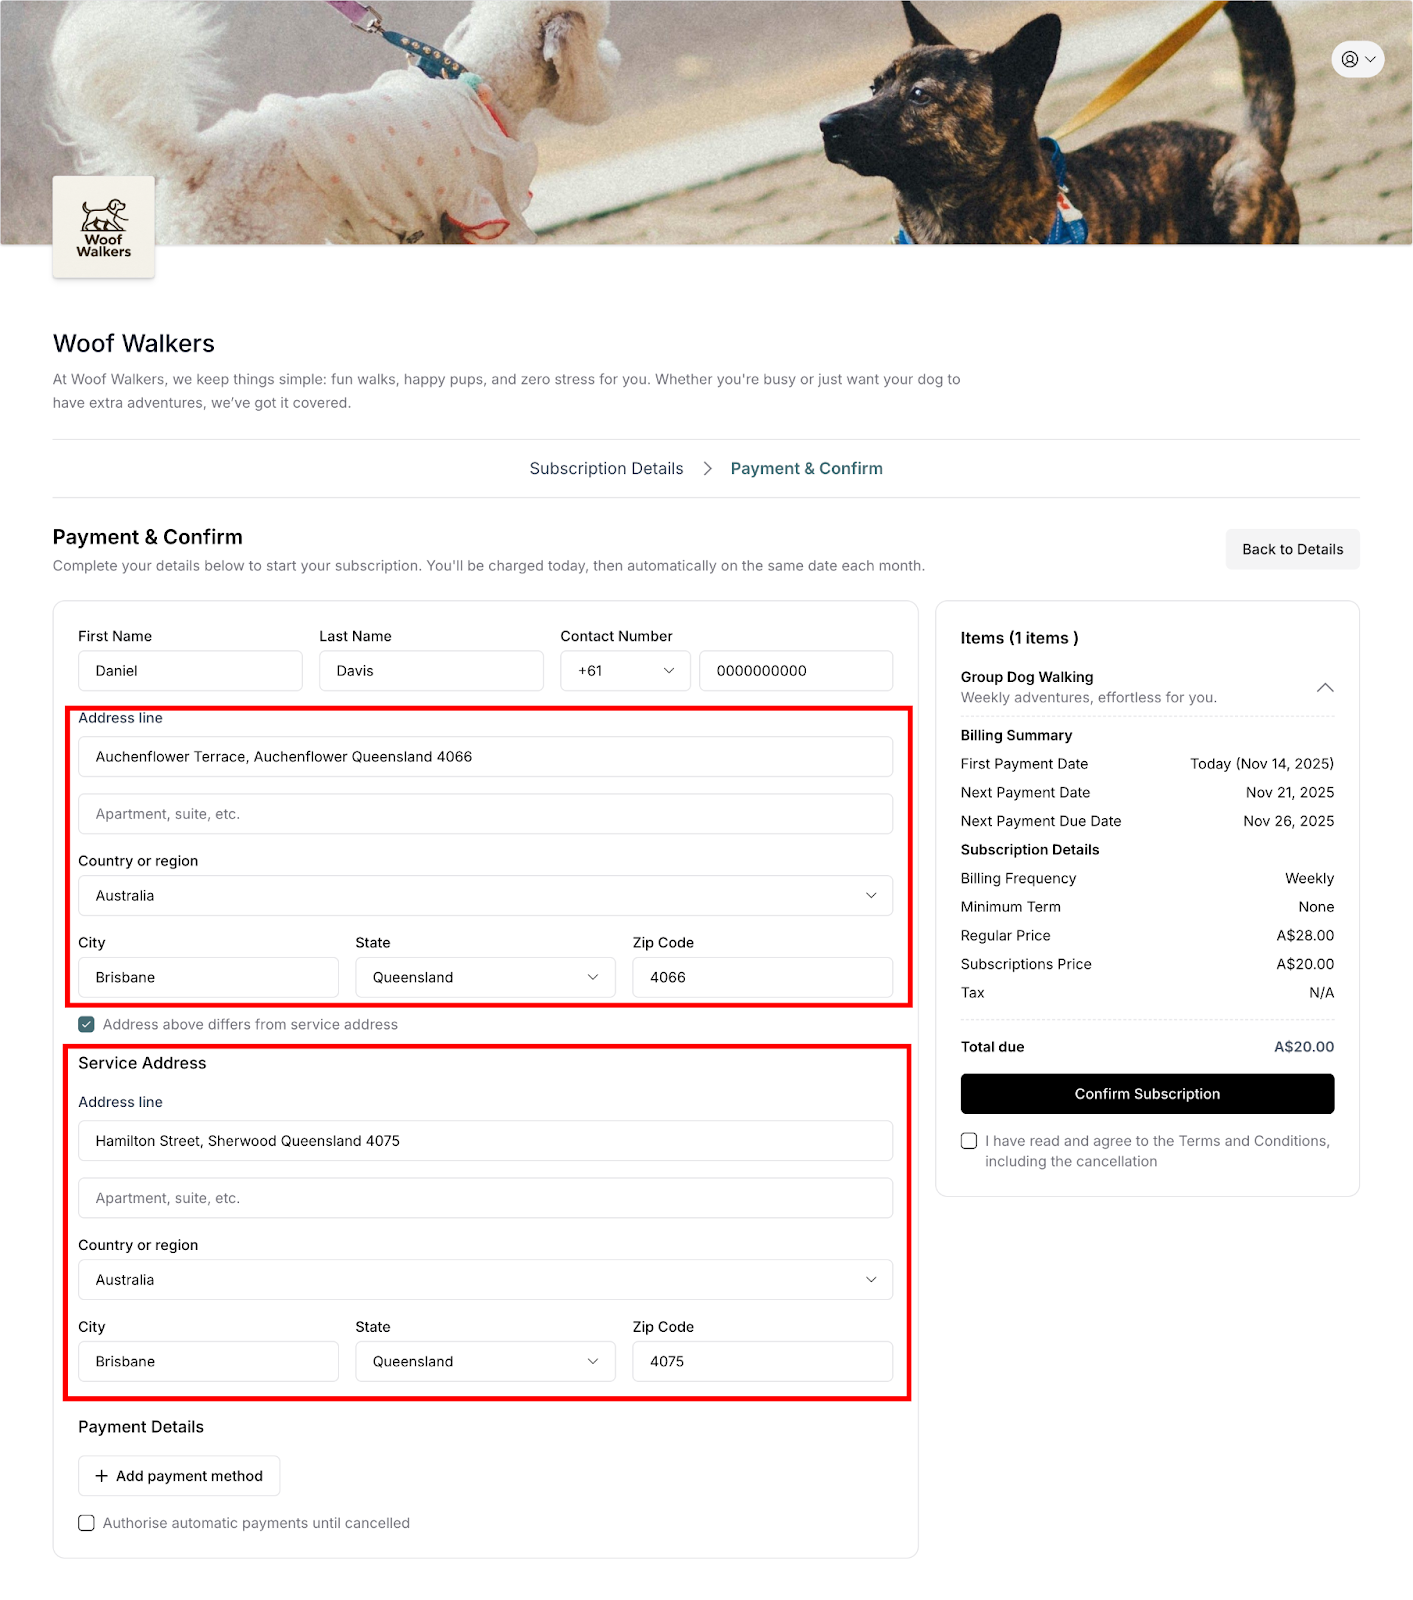
Customers must complete:
Customer information (name, contact number)
Address details (billing address with Google autocomplete)
Service address (if different from billing address)
Payment details (add card or select saved payment method)
Policy agreement (checkbox to accept terms)
Final confirmation (click "Confirm & Pay" button)
For complete details on each checkout step, see The Customer Sign-up Process - sections:
Customer Information
Google Address Autocomplete
Service Address Section
Payment Details
Review Checkout Details
Complete Purchase
First Payment Processing
When checkout completes:
First payment charges immediately
Subscription activates instantly
Service delivery scheduled
Confirmation emails sent
⚠️ IMPORTANT: The first payment processes immediately upon confirming purchase, not at some future date. Customers should ensure they're ready to be charged when clicking "Confirm & Pay."
After Accepting Invitation
Once customers complete checkout, their subscription is active and they gain access to the customer portal.
Immediate Confirmations
Customers receive multiple emails:
Subscription confirmation with complete details
Payment receipt for first charge
Service scheduled notification with delivery date
Customer portal access information with login link
What Happens Next
After successful acceptance:
Subscription is active immediately
First service scheduled based on start date
Service reminders sent before each appointment
Payment charged automatically at specified frequency
Customer portal access enabled
First Service Communication
Customers can expect:
Confirmation of first service date and time
Any preparation needed before service
Estimated arrival window
Business contact information for questions
Customer Portal Access
After accepting invitation and completing checkout, customers gain access to the customer portal to manage their subscription.
Accessing the Portal
Portal login:
Use email address verified during acceptance
Access via link in welcome email
Same OTP authentication process for security
Bookmark portal URL for easy access
Portal Capabilities
Through customer portal, customers can:
View subscription details and schedule
Update payment method if card changes
Modify service or billing addresses
View payment history and download receipts
Download invoices
Pause subscription (if allowed by business)
Cancel subscription (if minimum term met and allowed)
Update account preferences
Manage email preferences
View activity log
✍️ TIP: Customers should explore the customer portal after subscribing to familiarize themselves with self-service options versus what requires contacting the business.
Best Practices for Customers
Before accepting:
✅ Read complete service description
✅ Verify pricing and billing frequency
✅ Understand minimum term commitment
✅ Confirm start date works with schedule
✅ Contact business with questions
When authenticating:
✅ Use the exact email where invitation was sent
✅ Check spam folder if OTP doesn't arrive
✅ Wait 2-3 minutes before requesting new code
✅ Contact business if unsure which email to use
During checkout:
✅ Use accurate addresses
✅ Verify payment method is correct
✅ Read and understand policies
✅ Save confirmation emails
After accepting:
✅ Save customer portal login
✅ Add first service date to calendar
✅ Note when next payment will occur
✅ Explore customer portal features
✅ Contact business if any concerns
✍️ TIP: Subscription invitations require authentication with the specific email address that received the invitation. This security measure protects personalized offers and ensures only the intended recipient can accept. The checkout process is identical to self-signup (CE-002), ensuring a consistent experience regardless of how customers discover the business.
Was this article helpful?
That’s Great!
Thank you for your feedback
Sorry! We couldn't be helpful
Thank you for your feedback
Feedback sent
We appreciate your effort and will try to fix the article